CLAYING TECHNIQUES
Washing a car will remove loose dirt, but it won’t shift everything. See those dead flies hanging on like Stallone in Cliffhanger? Plus the little black blobs of tar on the lower half… and we haven’t even mentioned the stuff you can’t see...

Claying may mar soft paint or delicate finishes, so proceed with caution. Our clay is a fine grade so perfect for most cars but it may not suit all. Vintage and fresh paints are most at risk, so avoid claying and seek the advice of a
detailer.

Ideally leave the car wet after rinsing the car at the wash stage. Have a quick look and see what ‘spot’ contamination there is and whether it can be removed with a bit of
Detailing Spray and a
Buffing and Polishing Cloth. Tackling tar and bugs this way stops your clay becoming contaminated too quickly.

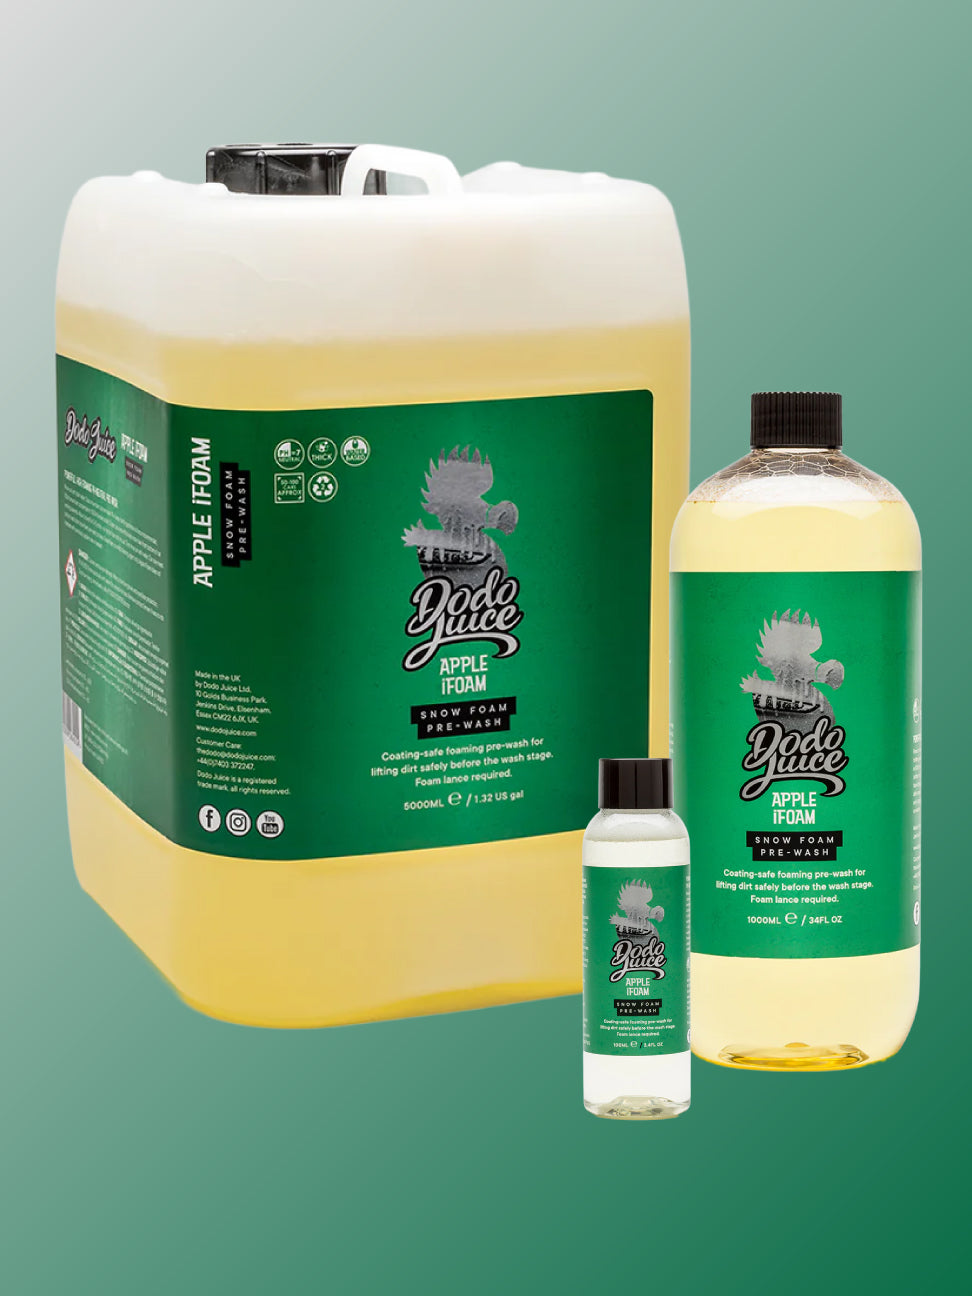
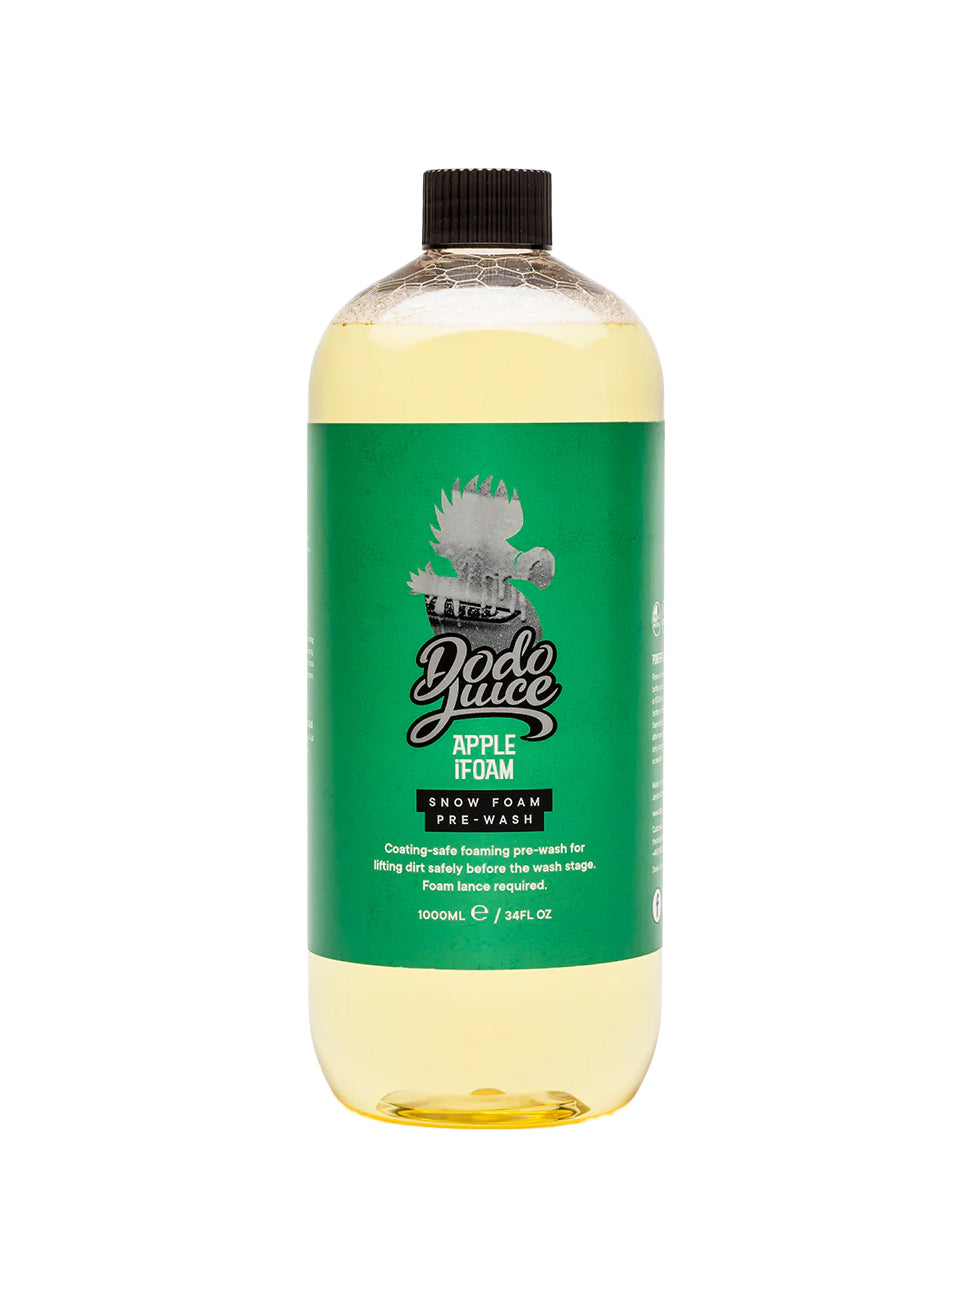
Spray
clay lube (at the correct dilution) over a cold panel – NEVER clay a hot panel. Then take about a third of a
Basics Clay Bar and roll it into a ball, before flattening it out into a pancake.

Move the clay pancake over the lubed paint surface, applying light pressure with your fingertips. You'll feel the resistance and grittiness disappear as the clay does its work. Once the clay face becomes dirty, fold the clay over to trap the dirt and carry on, using the clean clay face. Only fold the clay over once or twice more, then bin it.

Rinse the car with clean water to remove the clay and lube residues. Then dry, using a
drying towel (the process is covered in detail
here). Remember that you can clay your glass and wheels, too!
Look how much dirt came off with claying… now for the fun part. Polishing.